Displacement
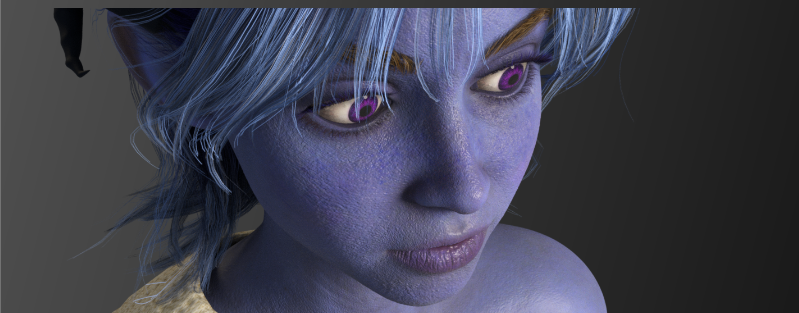
Displacement adds real, fine surface relief to your character — skin pores, deep wrinkles, fabric weave — by physically pushing geometry around at render time, based on displacement maps. It's more expensive than a normal map, but it produces genuine silhouette detail that catches light realistically.
This only applies to characters exported with displacement maps (Character Creator 5 exports these for many assets). No maps, no effect — these controls just have nothing to act on.
Displacement controls
The Displacement folder lives inside the Skin folder on the controller.

Mode
How displacement maps are used:
- Disable Displacement Shader (default) — maps are ignored. Fastest, and a fine default for most work.
- Bump — uses the map as a bump map, faking the lighting detail cheaply without moving geometry. A good middle ground.
- True Displacement — actually subdivides and displaces the geometry for real silhouette-level detail. The most realistic and most expensive option; it requires the mesh to be subdivided at render time.
Start with Disable or Bump while you work, and switch to True Displacement only for final hero renders where the extra detail matters and the longer render time is worth it.
Displacement Strength
Scales how far the displacement pushes the surface. Displacement maps are sensitive, so the useful values are small — around 0.002 is typical. If the surface looks like it's exploding or cracking, the strength is too high; bring it down.
True Displacement requires the mesh to be treated as a subdivision surface and diced finely by Karma — the tool sets this up automatically when you choose that mode. It costs both render time and memory.